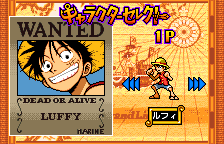
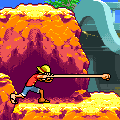
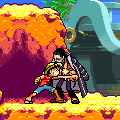
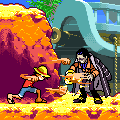
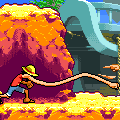
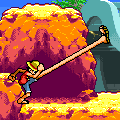
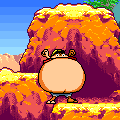
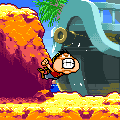
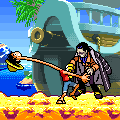
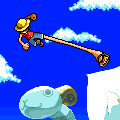
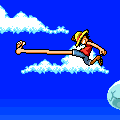
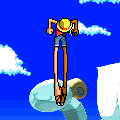
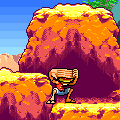
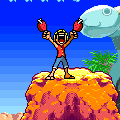
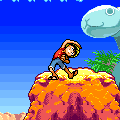
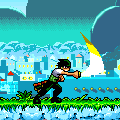
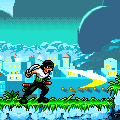
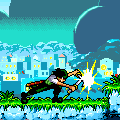
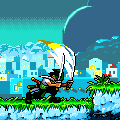
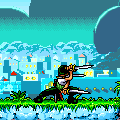
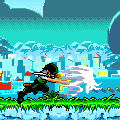
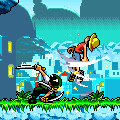
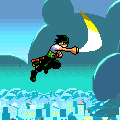
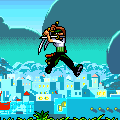
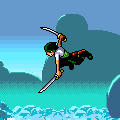
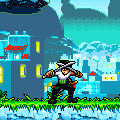
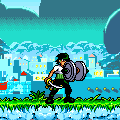
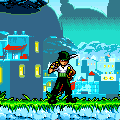
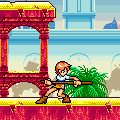
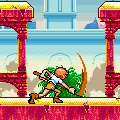
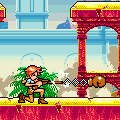
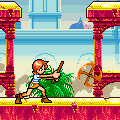
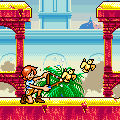
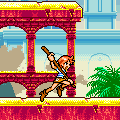
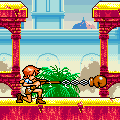
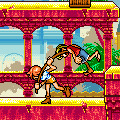
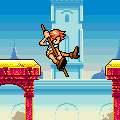
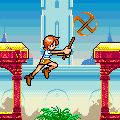
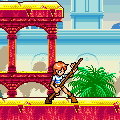
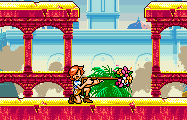
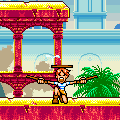
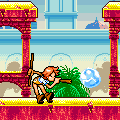
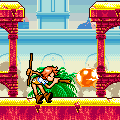
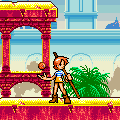
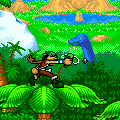
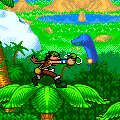
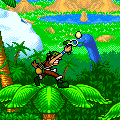
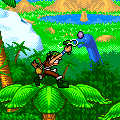
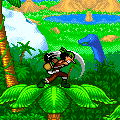
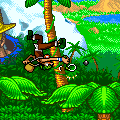
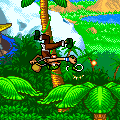
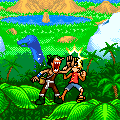
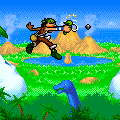
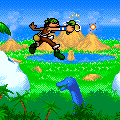
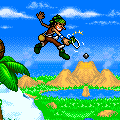
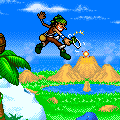
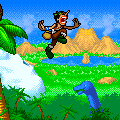
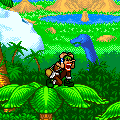
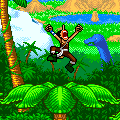
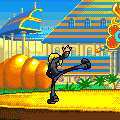
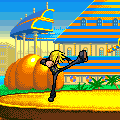
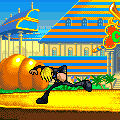
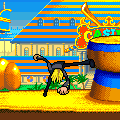
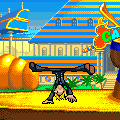
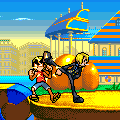
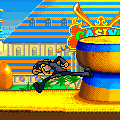
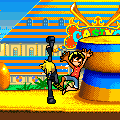
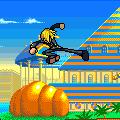
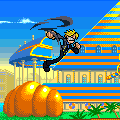
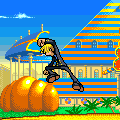
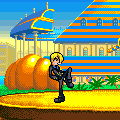
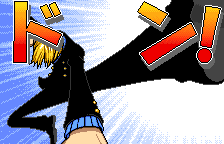
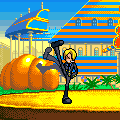
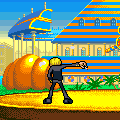
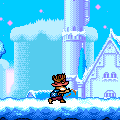
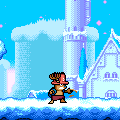
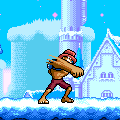
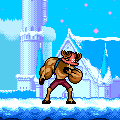
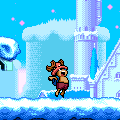
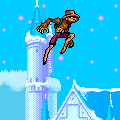
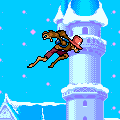
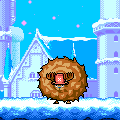
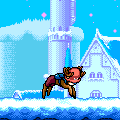
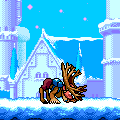
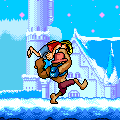
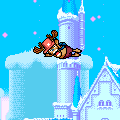
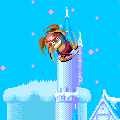
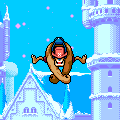
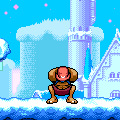
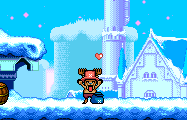
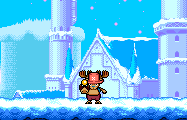
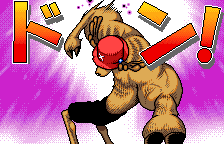
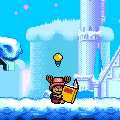
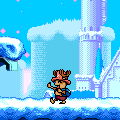
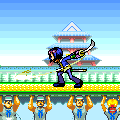
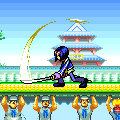
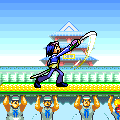
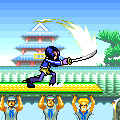
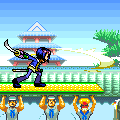
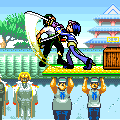
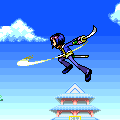
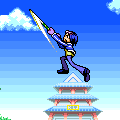
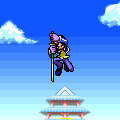
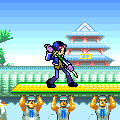
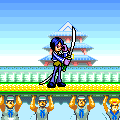
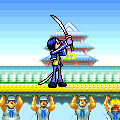
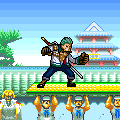
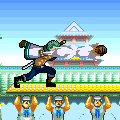
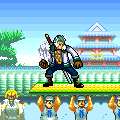
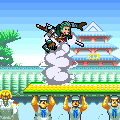
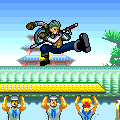
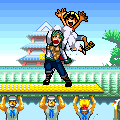
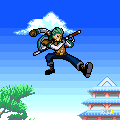
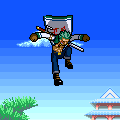
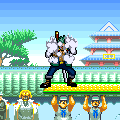
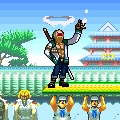
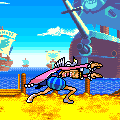
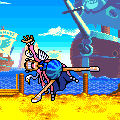
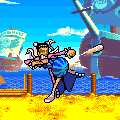
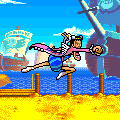
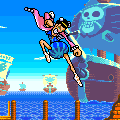
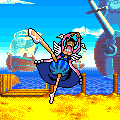
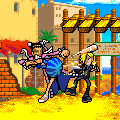
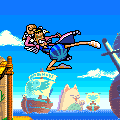
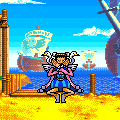
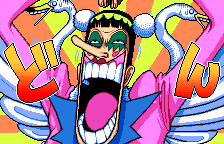
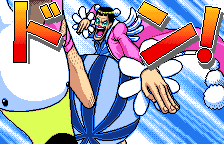
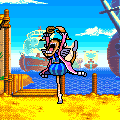
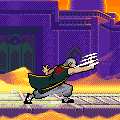
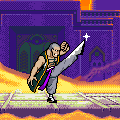
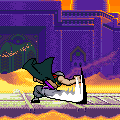
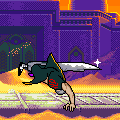
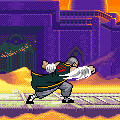
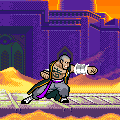
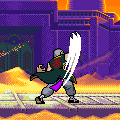
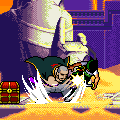
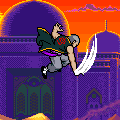
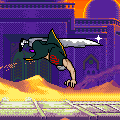
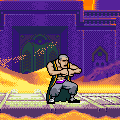
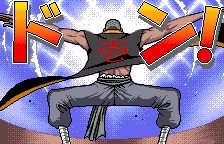
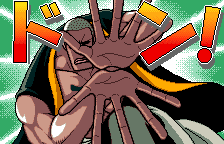
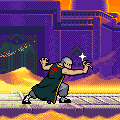
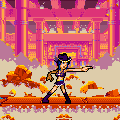
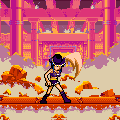
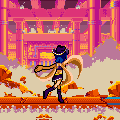
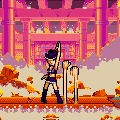
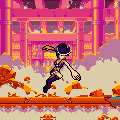
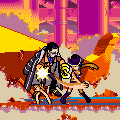
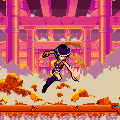
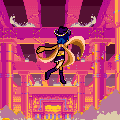
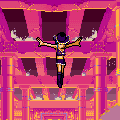
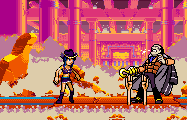
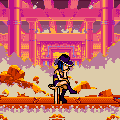
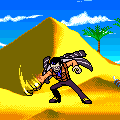
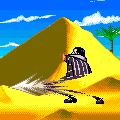
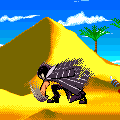
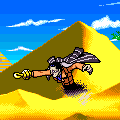
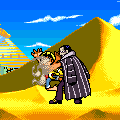
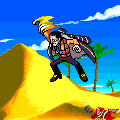
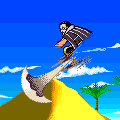
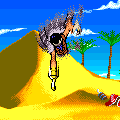
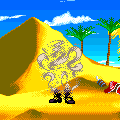
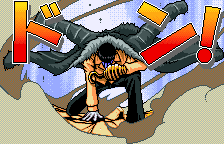
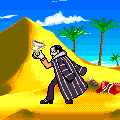
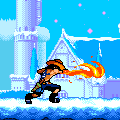
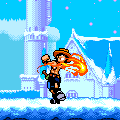
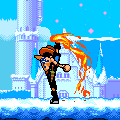
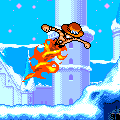
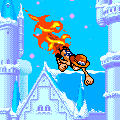
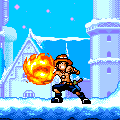
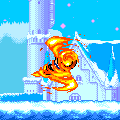
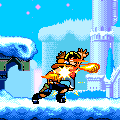
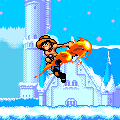
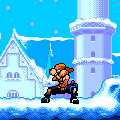
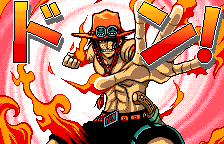
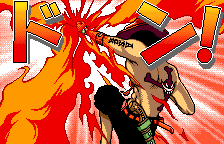
There are a total of 13 playable characters in Swan Colosseum consisting of the Straw Hats, certain Baroque Works members, Smoker & Tashigi of the Marines, and Portgas D. Ace. Characters are chosen at the beginning of Event Battle runs or Grand Battle matches and come with their own unique movesets and abilities catering to the characters playstyle, with a majority of moves being ones that appeared in the manga and anime. The exceptions being Nico Robin and Ace who at time of release hadn't had many named attacks in the series just yet.
At the start of the game only the Straw Hats (up to Tony Tony Chopper) are available to play as, with the remaining characters needing to be unlocked by completing certain feats in the game to obtain Wanted Posters.
Every character has their own attacks, a block, at least one idle animation, and at least 2 Bombstock Moves. Each player also has a Bombstock Gauge at the top that shows how many Bombstocks they have available for using special moves. This gauge has a maximum of 3 Bombstocks regardless of character or the moves that consume them.

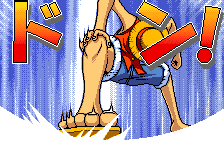
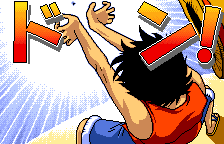
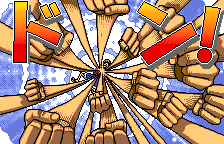
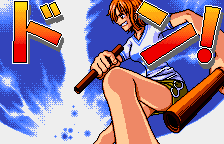
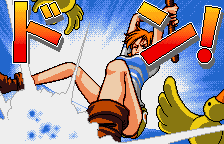
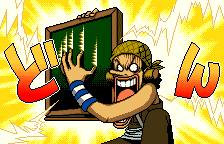
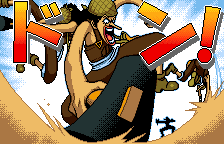
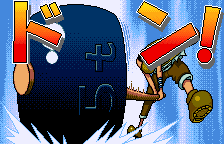
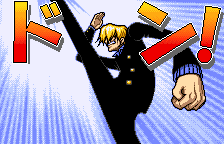
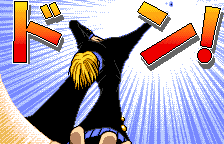
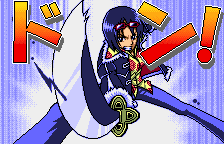
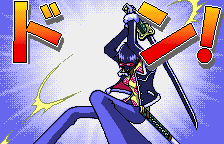
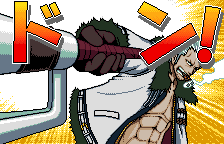
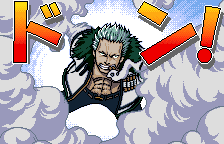
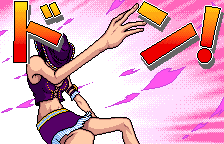
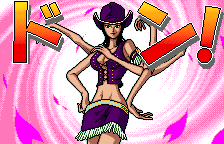
Using these moves effectively will trigger a short cutscene animation before dealing damage to the opponent. While almost all Bombstock Moves require at least 1 Bombstock to perform, characters usually have additional moves requiring 2 or 3, with some 2 & 3 Bombstock moves needing to be unlocked with Wanted Posters. This is the case with Luffy, Zoro, Sanji, and Usopp.
Every character also has 1 additional color palette to choose from by pressing ( 🠋 ) while in the character select menu.
Lastly, every character starts off with a certain amount of health regardless of game mode but can extend their health bar by obtaining the characters corresponding Wanted Poster. Additionally, obtaining Dr. Kureha's Wanted Poster gives a health boost to all characters. Both of these options add an additional 12% to a characters health bar.
 |
Gomu Gomu no Pistol |
( B ) |
| Luffy punches horizontally, stretching forward with considerable reach. |
 |
Luffy Punch |
( B 🠒 B ) |
| After landing Gomu Gomu no Pistol, Luffy throws a small punch that doesn't stretch. |
 |
Gomu Gomu no Gatling |
( B 🠒 B 🠒 B) |
| While Luffy needs to hit the opponent with Gomu Gomu no Pistol to start the combo, Luffy doesn't have to land a Luffy Punch to perform Gomu Gomu no Gatling. In this move Luffy throws his arms forward in a series of punches that will deal a small amount of damage and knockback. |
 |
Gomu Gomu no Shot |
( B 🠒 B) |
| If Luffy doesn't hit his opponent with Gomu Gomu no Pistol, the player can press B again to have him twang his arm, making it bounce around in a wave like fashion. This will damage the opponent if they land on it. |
 |
Gomu Gomu no Stamp |
( 🠉 + B ) |
| Luffy kicks upwards diagonally with considerable reach. |
 |
Gomu Gomu no Balloon |
( 🠋 + B ) |
| Luffy inflates himself with air to block incoming attacks. |
 |
Gomu Gomu no Baku Baku |
While Dashing ( B ) |
| Luffy uses the momentum of dashing to jump and chomp the air in front of him for a moment. |
 |
Gomu Gomu no Bell |
( 🠈 or 🠊 + B ) |
| When facing the opponent while directly next to them, pressing both the directional input towards the enemy + B will have Luffy grab them, immobilizing them, and throw his head back to deliver a headbutt. This attack cannot be blocked. |
 |
Gomu Gomu no Whip |
Airbourne ( B ) |
| Luffy kicks in a downwards motion, sweeping the air in front of him with considreable reach. |
 |
Gomu Gomu no Stamp |
Airbourne ( 🠉 + B ) |
| Luffy kicks out horizontally mid-air with considerable reach. |
 |
Gomu Gomu no Spear |
Airbourne ( 🠋 + B ) |
| Luffy extends his legs downwards, keeping his feet together. |
 |
Gomu Gomu no Shield |
( 🠋 ) |
| Luffy crouches and stretches his fingers from one hand in front of him to block attacks. |
 |
Lvl. 1 - Gomu Gomu no Axe |
( A + B ) |
| Luffy kicks upwards, stretching his leg just off screen before bringing it back down. If it hits the opponent, it will trigger his Level 1 animation and deal a small amount of damage and knockback. |
 |
Lvl. 2 - Gomu Gomu no Bazooka |
( 🠉 + A + B ) |
| Luffy throws his arms behind him quickly before bringing them forward. If they hit the opponent, it will trigger his Level 2 animation and deal a moderate amount of damage and knockback. |
 |
Lvl. 3 - Gomu Gomu no Storm |
( 🠋 + A + B ) |
| Luffy sucks in a lot of air quickly before twisitng his body in a corkscrew manner and launching upwards. If he hits the opponent after he begins to launch, it will trigger his Level 3 animation, dealing a considerable amount of damage and knockback. |
 |
Chop |
( B ) |
| Zoro slices his sword vertically downward. |
 |
Shoulder Slash |
( B 🠒 B ) |
| Zoro then slashes horizontally with further reach than before. |
 |
Two-Handed Hunt |
( B 🠒 B 🠒 B) |
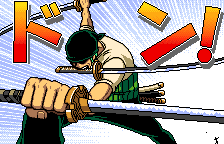
| Zoro finishes his combo by using a second sword to do a cross cut directly in front of him. |
 |
Tiger Hunt |
( 🠉 + B ) |
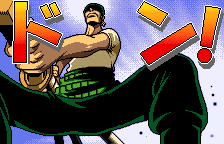
| Zoro holds his swords over head before bringing them down onto the opponent. This attack can be held for a brief moment. |
 |
Crab Seize |
( 🠋 + B ) |
| Zoro takes a stance for a moment before slicing in front of him, moving him forwards slightly. |
 |
Bull Needles |
While Dashing ( B ) |
| While dashing, Zoro stabs in front of him multiple times, dealing a series of small blows to the opponent. |
 |
Dragon Twister |
( 🠈 or 🠊 + B ) |
| When facing the opponent while directly next to them, pressing both the directional input towards the enemy + B will have Zoro perform a series of slashes that creates a small tornado and knocks the opponent up into the air before falling back down. This attack cannot be blocked. |
 |
Jump Slash |
Airbourne ( B ) |
| Zoro cuts horizontally in front of him while mid-air. |
 |
Mid-Air Tiger Hunt |
Airbourne ( 🠉 + B ) |
| Zoro does a front flip while slashing his two swords down from overhead. |
 |
Hawk Wave |
Airbourne ( 🠋 + B ) |
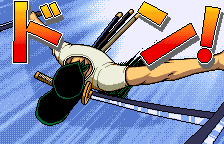
| Zoro flys diagonally downwards with his swords outstretched before landing and doing a final small flurry of slashes. |
 |
Overhead Block |
( 🠋 ) |
| Zoro holds two swords over his head to block incoming attacks. |
 |
Gale |
( B ) |
| Nami jabs the opponent with the end of her Clima-Tact. |
 |
Storm |
( B 🠒 B ) |
| Continuing the combo, Nami brings the other end of the Clima-Tact down onto the opponent. |
 |
Thunder Tempo |
( B 🠒 B 🠒 B) |
| To finish her combo, Nami kneels and launches a boxing glove from her Clima-Tact that travels horizontally with long reach. |
 |
Cyclone Tempo |
( 🠉 + B ) |
| Nami throws part of her Clima-Tact forward that travels horizontally. |
 |
Fine Tempo |
( 🠋 + B ) |
| Nami kneels quickly and releases 2 birds from her Clima-Tact that fly diagonally upward. |
 |
First Storm of Spring |
While Dashing ( B ) |
| While dashing, Nami uses her mometum to bring her Clima-Tact down onto the opponent with a small jump. |
 |
Dashing Thunder Tempo |
While Dashing ( B 🠒 B ) |
| After First Storm of Spring, Nami kneels quickly and launches a boxing glove horizontally from her Clima-Tact. |
 |
Turbulence |
( 🠈 or 🠊 + B ) |
| When facing the opponent while directly next to them, pressing both the directional input towards the enemy + B will have Nami hook her Clima-Tact onto the opponent before throwing them behind her, knocking them down. This attack cannot be blocked. |
 |
Downpour |
Airbourne ( B ) |
| Nami holds her Clima-Tact in place as she drops down on top of opponents. |
 |
Mid-Air Cyclone Tempo |
Airbourne ( 🠉 + B ) |
| Nami throws part of her Clima-Tact that travels upwards diagonally. |
 |
Block |
( 🠋 ) |
| Nami holds her Clima-Tact in front of her to block incoming attacks. |
 |
Lvl. 0 - Cloudy Tempo |
Empty Gauge ( A + B ) |
| If Nami's Bombstock gauge has not reached Level 1, Nami will perform a Cloudy Tempo in which she kneels and fires a bouquet of flowers from the tip and laughs for a significant amount of time before angrily throwing them to the ground. If completed in full, Nami will gain 1 full Bombstock, but the significant wait puts her at a disadvantage. |
 |
Lvl. 1 - Thunderbolt Tempo |
( A + B ) |
| Nami blows a Cool Ball (or Heat Ball if Rain Tempo has been used) horizontally. If it hits the opponent it will trigger her Level 1 animation, dealing a moderate amount of damage and knockback. |
 |
Lvl. 2 - Tornado Tempo |
( 🠉 + A + B ) |
| Nami stands still for a moment, firing two birds from her Clima-Tact horizontally. If one of the birds hits the opponent it will trigger Nami's Level 2 animation which deals a considerable amount of damage and knockback. |
 |
Lead Star |
( B ) |
| Usopp fires a Lead Star horizontally that will continue off screen if it doesn't hit an opponent or object. |
 |
Flame Star |
After Idle ( B ) |
| After Usopp Charge, Usopp's Lead Star becomes a Fire Star. |
 |
Egg Star |
( 🠉 + B ) |
| Usopp fires an Egg Star upwards that arcs before dropping back down a short distance away. |
 |
Rotten Egg Star |
After Idle ( 🠉 + B ) |
| After Usopp Charge, Usopp's Egg Star becomes a Rotten Egg star. |
 |
Surprise Hammer |
( 🠋 + B ) |
| Usopp swings his hammer in an upwards motion. |
 |
Lead Star Tomahawk |
While Dashing ( B ) |
| While dashing, Usopp will do a front flip and fire a Lead Star behind him before landing and continuing to sprint. |
 |
Fire Star Tomahawk |
While Dashing After Idle ( B ) |
| After Usopp Charge, Usopp's Lead Star becomes a Fire Star. |
 |
Jab Throw |
( 🠈 or 🠊 + B ) |
| When facing the opponent while directly next to them, pressing both the directional input towards the enemy + B will have Usopp hit the opponent with a series of hammer swings before delivering a final back hand jab. This attack cannot be blocked. |
 |
Lead Star Missle |
Airbourne ( B ) |
| Usopp fires a Lead Star horizontally through the air. |
 |
Fire Star Missle |
Airbourne After Idle ( B ) |
| After Usopp Charge, Usopp's Lead Star becomes a Fire Star. |
 |
Lead Star Rocket |
Airbourne ( 🠋 + B ) |
| Usopp fires a Lead Star diagonally downwards onto the opponent. |
 |
Fire Star Rocket |
Airbourne After Idle ( 🠋 + B ) |
| After Usopp Charge, Usopp's Lead Star becomes a Fire Star. |
 |
Don't Fall Down Damn It |
Airbourne ( 🠉 + B ) |
| Usopp flaps through the air for a brief moment, and can gain some height depending on how long ( B ) is held, before dropping to the ground. |
 |
Cower |
( 🠋 ) |
| Usopp crouches and cowers which blocks incoming attacks. |
 |
Longe |
( B ) |
| Sanji kicks slightly upward, reaching the opponents head. |
 |
Tendron |
( B 🠒 B ) |
| Following Longe, Sanji turns and kicks with his other leg, reaching even higher. |
 |
Flanchet |
( B 🠒 B 🠒 B) |
| Lastly, Sanji will deliver a low kick to finish off the combo. |
 |
Joue Shoot |
( 🠉 + B ) |
| Sanji does a cartwheel forward that ends in a kick that knocks back the opponent. |
 |
Quasi |
( 🠋 + B ) |
| Sanji does a handstand and series of kicks that moves him forward the direction he's facing. |
 |
Cerveau |
( 🠋 + B 🠒 B ) |
| If Sanji hits the opponent with Quasi, he can then deliver a second, smaller kick afterwards that knocks back the opponent. |
 |
Basse Shot |
While Dashing ( B ) |
| Sanji uses the momentum from dashing to perform a lunging kick forward. |
 |
Reception |
( 🠈 or 🠊 + B ) |
| When facing the opponent while directly next to them, pressing both the directional input towards the enemy + B will have Sanji do a small kick to the opponents legs that stuns them in place before raising his leg up and kicking downwards on their head. This attack cannot be blocked. |
 |
Little Eggplant Kick |
Airbourne ( B ) |
| Sanji delivers a small kick horizontally while mid-air. |
 |
Armée de l'Air Shot |
Airbourne ( 🠉 + B ) |
| Sanji kicks mid-air in a wide sweep that moves him forward in the direction hes facing before continuing to fall. |
 |
Escalope |
Airbourne ( 🠋 + B ) |
| Sanji kicks diagonally downward, accelerating slightly. |
 |
Shin Block |
( 🠋 ) |
| Sanji rasies one of his legs to block attacks with his shin. |
 |
You Bastard! |
( B ) |
| Chopper throws a small punch with his hoof. |
 |
You Bastard!! |
( B 🠒 B ) |
| Chopper continues his combo with a second small punch with his other hoof. |
 |
You Bastaaard! |
( B 🠒 B 🠒 B) |
| Chopper shifts to Heavy Point and deals a final punch at a slight downward angle. |
 |
Arm Point! |
Rumble Ball ( B 🠒 B 🠒 B) |
| If Chopper has eaten a Rumble Ball, his normal B combo attack ends with Arm Point, dealing more damage and knockback. |
 |
Injection! |
( 🠉 + B ) |
| Chopper does a small headbutt while launching himself forward. |
 |
Jumping Point! |
Rumble Ball ( 🠉 + B ) |
| If Chopper has eaten a Rumble Ball, he can jump considerably higher, reaching hieghts greater than a normal double jump. |
 |
Additional Jumping Point! |
Rumble Ball ( 🠉 + B 🠒 B ) |
| After his first jump, Chopper can dash mid-air horizontally a moderate distance. |
 |
Guard Point |
Rumble Ball ( 🠋 + B ) |
| If Chopper has eaten a Rumble Ball, he can grow big and round to block attacks while bouncing in place for a moment. Though, this move can't be cancelled once started. |
 |
Reindeer Sleigh |
While Dashing ( B ) |
| Chopper bashes headfirst into the opponent with moderate knockback. |
 |
Horn Point! |
Rumble Ball + Dashing ( B ) |
| If Chopper has eaten a Rumble Ball, Reindeer Sleigh becomes Horn Point which deals more damage and launches the opponent upwards. |
 |
Heavy Point! Hospital Discharge! |
( 🠈 or 🠊 + B ) |
| When facing the opponent while directly next to them, pressing both the directional input towards the enemy + B will have Chopper pick up the opponent and throw them behind him, dealing a small amount of damage but considerable knockback. This attack cannot be blocked. |
 |
Get Well Soon! |
Airbourne ( B ) |
| Chopper kicks his legs outward mid-air. |
 |
Cherry Syrup |
Airbourne ( 🠉 + B ) |
| Chopper lauches himself in a cartwheel animation that travels diagonally upward. |
 |
That's Not For Eating! |
R.B. + Airbourne ( 🠋 + B ) |
| If Chopper has eaten a Rumble Ball, Chopper can deal a downward blow in Heavy Point while midair with both of his fists. |
 |
Heavy Point Block |
( 🠋 ) |
| Chopper crouches, putting his arms above his head to block attacks. |
 |
Beeline Cut |
( B ) |
| Tashigi quickly draws and cuts horizontally in front of her before putting Shigure back in its scabbard. |
 |
Cross Cut |
( B 🠒 B ) |
| Folowing Beeline Cut, Tashigi delivers a swift vertical cut downward. |
 |
Quick Reverse Cut |
( 🠉 + B ) |
| Tashigi cuts upwards in an arc that has considerable reach. |
 |
Swallow Drop |
( 🠋 + B ) |
| Tashigi holds her sword out in front of her for a moment before lifting it over her head and bringing it down in a swift chop. This attack can be held for a moment to increase its power and knockback. |
 |
Tsujigiri |
While Dashing ( B ) |
| Tashigi uses her momentum to cut horizontally in front of her, getting a bit more reach than her normal Beeline Cut. |
 |
Flight |
( 🠈 or 🠊 + B ) |
| When facing the opponent while directly next to them, pressing both the directional input towards the enemy + B will have Tashigi hit her opponent briefly before swinging upward, knocking the opponent into the air. This attack cannot be blocked. |
 |
Lunar Arc |
Airbourne ( B ) |
| Tashigi deals two slashes, first horizontally, then vertically. |
 |
Flowers and Birds |
Airbourne ( 🠉 + B ) |
| Tashigi swings her sword in scabbard diagonally upward with considerable reach. |
 |
Hail |
Airbourne ( 🠋 + B ) |
| Tashigi braces midair, holding Shigure straight as she plummets down onto the opponent. |
 |
Scabbard Block |
( 🠋 ) |
| Tashigi holds Shigure in front of her to block attacks. |
 |
Fist of Justice |
( B ) |
| Smoker throws a small hook. |
 |
White Blow Combo Ver. |
( B 🠒 B ) |
| Following his hook, Smoker launches his other fist in a billow of smoke with considerable reach. |
 |
White Blow |
( 🠉 + B ) |
| Smoker holds his fist behind him before extending it forward in a similar billow of smoke as before. This attack can be held for a few seconds which will increase it's power and knockback slightly. |
 |
White Vine |
( 🠋 + B ) |
| Smoker blasts smoke underneath himself to move upward diagonally, reaching a bit higher than an average jump. |
 |
Middle Dive Kick of Justice |
While Dashing ( B ) |
| Smoker kicks forward with the momentum from dashing. |
 |
White Throw |
( 🠈 or 🠊 + B ) |
| When facing the opponent while directly next to them, pressing both the directional input towards the enemy + B will have Smoker envelop the opponent in smoke and picks them up over his shoulders before throwing them the opposite direction he was facing. This attack cannot be blocked. |
 |
Aerial Kick of Justice |
Airbourne ( B ) |
| Smoker kicks mid-air with considerable reach. |
 |
Rapid Dive Kick of Justice |
Airbourne ( 🠋 + B ) |
| Smoker kicks downward, accelerating slightly. |
 |
Smoke Block |
( 🠋 ) |
| Smoker clouds himself in puffs of smoke that block incoming attacks. |
 |
Urabure Swan Butokai (Un, Deux) |
( B ) |
| Bentham throws both of his arms forward to jab the opponent. |
 |
Urabure Swan Butokai (Ora!) |
( B 🠒 B ) |
| After jabbing, Bentham launches a horizontal kick. |
 |
Okama Kenpo: Swan Arabesque |
( B 🠒 B 🠒 B ) |
| Instead of doing his complete B combo in order, Bentham will forego Urabure Swan Butokai (Ora!) and start kicking rapidly in a fanned out pattern. |
 |
Dozo Okamai Knuckle |
( 🠉 + B ) |
| Bentham launches himself forward with his fists outstretched. If held down, Bentham will spin in place first, accerating in speed before launching. This has considerable reach when charged as it can cross more than half of every stage. |
 |
Memories of That Winter Sky |
( 🠋 + B ) |
| Bentham backflips and launches himself into the air before kicking downward diagonally. |
 |
Memories of That Summer Day |
While Dashing ( B ) |
| Betham uses the momentum of dashing to twirl multiple times with his leg outstretched, hitting everything in his path. |
 |
Okama Kenpo: Swan Arabesque |
( 🠈 or 🠊 + B ) |
| When facing the opponent while directly next to them, pressing both the directional input towards the enemy + B will have Bentham quickly kick multiple times in a fan pattern before kicking upward and sending the opponent flying. This attack cannot be blocked. |
 |
Keri Pointe |
Airbourne ( B ) |
| Bentham kicks out mid-air. |
 |
Memories of That Winter Sky |
Airbourne ( 🠋 + B ) |
| Similar to the first Memories of That Winter Sky, Bentham, already airbourne, goes straight into the diagonal kick, accelerating slightly. |
 |
Swan Block |
( 🠋 ) |
| Bentham crosses his arms in front of his face and braces to block attacks. |
 |
Spar Claw |
( B ) |
| Daz quickly throws his arm forward, turning his fingers to blades. |
 |
Spar Blade |
( 🠉 + B ) |
| Daz kicks upward, his leg becoming one massive blade. |
 |
Spar Axe |
( 🠉 + B 🠒 B ) |
| After bringing his leg upward, Daz quickly reverses and brings his leg down, turning the back of his calf into a blade. |
 |
Spar Sting |
( 🠉 + B 🠒 B 🠒 B ) |
| To finish the combo, Daz does a front flip, throwing his other leg forward into a stab attack. |
 |
Spiral Hollow - 1 |
( 🠋 + B ) |
| Daz turns both of his arms into rotating blades, throwing a right right first. |
 |
Spiral Hollow - 2 |
( 🠋 + B 🠒 B ) |
| Daz continues the combo with a left punch that he stretches outward. If both attacks hit it deals considerable knockback. |
 |
Atomic Spurt |
While Dashing ( B ) |
| Daz swipes upwards from his feet, turning his fingers into blades again. |
 |
Spar Break |
( 🠈 or 🠊 + B ) |
| When facing the opponent while directly next to them, pressing both the directional input towards the enemy + B will have Daz stretch his arms to either side before quickly crossing them in one swift cutting motion. This attack cannot be blocked. |
 |
Flying Spar Claw |
Airbourne ( B ) |
| Daz swipes downward from over his head in a long arc. |
 |
Flying Spar Sting |
Airbourne ( 🠉 + B ) |
| Daz outstreches his leg as one large sharp blade. |
 |
Spar Block |
( 🠋 ) |
| Daz presses his fists together and takes a sturdy stance that block attacks. |
 |
Un Fleur Slash |
( B ) |
| Robin swings her arm outward in a chopping motion. |
 |
Un Fleur Crash |
( B 🠒 B ) |
| After swinging her arm out, Robin quickly reverses motion and backhands the opponent. |
 |
Fleur Paraiso |
( 🠉 + B ) |
| Robin grows multiple arms in succession in a windmill motion that deliver multiple small hits. |
 |
Dos Fleur Impact |
( 🠋 + B ) |
| Robin throws her arm up as two more sprout from the ground directly in front of her, dealing damage and a small knock back to opponents. |
 |
Un Fleur Attack |
While Dashing ( B ) |
| Robin jumps into the air slightly to deliver a downward blow while keeping her momentum from dashing. |
 |
Dos Fleur Rock |
( 🠈 or 🠊 + B ) |
| When facing the opponent while directly next to them, pressing both the directional input towards the enemy + B will have Robin sprout two hands from the ground, holding the person in place as she deals a series of slaps before a final swing that knocks back the opponent. This attack cannot be blocked. |
 |
Un Fleur Slash |
Airbourne ( B ) |
| Similar to Un Fleur Attack, Robin sticks her arm out in a downward fashion before falling to the ground. |
 |
Fleur Paraiso |
Airbourne ( 🠉 + B ) |
| As with the ground variant, Robin does a windmill motion with her arms, but this time gaining a bit of height as she moves vertically upwards for a brief moment. |
 |
Sunday Bud |
Airbourne ( 🠋 + B ) |
| Robin straightens her legs and drops vertically down at a faster speed than falling, but this attack only deals damage if it hits the opponent with her legs. |
 |
Sunday Blossom |
Airbourne ( 🠋 + B 🠒 B ) |
| After falling to the ground, Robin crouches and sprouts a flurry of arms at her feet that do a wide sweep around her, protecting her and dealing damage to anyone who makes contact. |
 |
Quattro Fleur Block |
( 🠋 ) |
| Robin grows 2 more arms and crosses them in front of her to block any incoming attacks. |
 |
Lvl. 1 - Seis Fleur Clutch |
( A + B ) |
| Robin crouches down and crosses her arms in front of her, if the opponent is close enough her Level 1 animation will start and deal a small amount of damage before finally throwing the opponent backwards. |
 |
Lvl. 3 - Treinta Fleur Darkness Kill |
( 🠉 + A + B ) |
| Robin throws out a small ring of flower petals that fly through the air horizontally, if it hits an opponent it begins Robin's Level 3 animation which deals a moderate amount of damage and knocks down the opponent. |
 |
Treinta Impact |
After Lvl. 3 ( B ) |
| After successfully using Lvl. 3: Treinta Fleur Darkness Kill, for 10 seconds anytime the player presses ( B ), two hands will grow out of the ground and hit the enemy causing a small amount of damage and a slight knockback. This works from a distance and doesn't require contact. |
 |
Desert Crowbar |
( B ) |
| Crocodile swings his hook in a downward motion. |
 |
Desert Spada |
( 🠉 + B ) |
| Crocodile swings his arm upward which sends a sharp sand spike outward at knee height as if from behind him. |
 |
Barján |
( 🠋 + B ) |
| Crocodile throws his hand back, turning it to sand before quickly throwing a downward blow. |
 |
Desert Gale |
While Dashing ( B ) |
| Using his forward momentum, Crocodile throws his hook forward in a swinging motion, knocking back the opponent. |
 |
Desert Tyrant |
( 🠈 or 🠊 + B ) |
| When facing the opponent while directly next to them, pressing both the directional input towards the enemy + B will have Crocodiles hand become a flurry of sand that swarms the opponent before kocking them backwards. This attack cannot be blocked. |
 |
Desert Crowbar |
Airbourne ( B ) |
| Similar to the ground variant of Desert Crowbar, Crocodile swings his hook out knocking back anyone it makes contact with. |
 |
Desert la Spada |
Airbourne ( 🠉 + B ) |
| While swinging his arm upwards, Crocodile sends out a blade of sand diagonally downwards with considerable reach. |
 |
Desert Squall |
Airbourne ( 🠋 + B ) |
| Crocodile points his hook downward and accelerates slightly, damaging anyone below him. |
 |
Desert Block |
( 🠋 ) |
| Crocodile becomes a flowing veil of sand to avoid incoming attacks. |
 |
Roaring Flame |
( B ) |
| Ace throws a punch that extends with flames for a moment before dissipating. |
 |
Hell Fire |
( B 🠒 B ) |
| Instead of Roaring Flame happening first, as with most character B attack succession combos, Ace quickly throws a downward blow before with his right arm before releasing a swift flame engulfed backhand with his left. |
 |
Flaming Dragon |
( B 🠒 B 🠒 B ) |
| After doing Hell Fire, Ace finishes the combo by kicking his left leg upward while covered in flames. |
 |
Demon Flame |
( 🠉 + B ) |
| Ace rockets himself diagonally upwards based on the direction he's facing, damaging anyone under him with his flames. |
 |
Shiranui |
( 🠉 + B 🠒 B ) |
| Ace quickly launches himself diagonally downwards dealing damage with his fist before landing in a sudden blaze of flames on the ground that has considerable reach and damage. |
 |
Explosive Cannon |
( 🠋 + B ) |
| Ace quickly deals two punches, the second ending in a burst of flame that knocks back the opponent. |
 |
Kagero |
While Dashing ( B ) |
| Ace envelops himself in flames as he spins through the air, keeping his momentum from dashing and launching himself a considerable distance. |
 |
Raging Fire |
( 🠈 or 🠊 + B ) |
| Ace quickly deals a series of flame punches before delivering an uppercut that knock the opponent upward, setting them ablaze for a brief moment. This attack cannot be blocked. |
 |
Hibihi |
Airbourne ( B ) |
| Ace kicks mid-air, covering his foot in flame. |
 |
Shiranui |
Airbourne ( 🠉 + B ) |
| Same as the combo version, Ace quickly launches himself diagonally downwards dealing damage with his fist before landing in a sudden blaze of flames on the ground. |
 |
Arm Block |
( 🠋 ) |
| Ace crosses his arms in front of his face to block attacks. |
